by: Kate McMillan
Cook Time
11 minutes
Prep Time
30 minutes
Refrigeration Time
4 hours
Yield
24 cookies
Total Time
11 minutes
Prep Time
30 minutes
Yield
24 cookies
summary
Gingerbread at the holidays is a must, and these <u>seasonal cookie stamps</u> are too cute—and oh-so-festive! You need to allow time for the dough to chill, so make the dough the day before if possible. A light brushing of glaze adds a lovely sweet finish while allowing you to still see the beautiful imprints of the stamps.
ingredients
- Cookie Ingredients:
- 2¾ cup all-purpose flour
- ¾ teaspoon baking soda
- ½ teaspoon salt
- 2½ teaspoons ground ginger
- 2 teaspoons ground cinnamon
- ¾ teaspoon ground cloves
- ½ teaspoon ground nutmeg
- ½ cup (1 stick) unsalted butter
- ½ cup packed dark brown sugar
- 1 large egg
- ¾ cup unsulfured dark molasses
- Soft Glaze Ingredients:
- 1 cup confectioners’ sugar (powdered sugar)
- 1 tablespoon plus 2 teaspoons water
directions
- Place your in the freezer.
- In a large mixing bowl, whisk together the flour, baking soda, salt, ginger, cinnamon, cloves and nutmeg. Set aside.
- In a stand mixer fitted with a paddle attachment, cream the butter and brown sugar until light and fluffy, about 2 minutes. Add the egg and molasses and mix until combined. Slowly incorporate the flour mixture until completely combined. Divide the dough into 3 equal parts, wrap each section in parchment paper and chill for at least 4 hours or up to overnight.
- When you are ready to bake off the cookies, preheat the oven to 350°F and line 2 baking sheets with parchment paper or baking mats. Set aside.
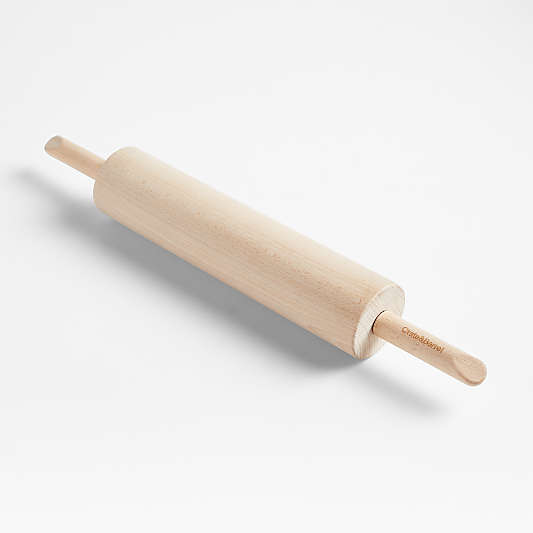
- On a very well-floured work surface and working with one section of dough at a time, roll out the dough to ¼-inch thickness. Let the dough sit for 4 minutes. Remove 1 stamp from the freezer and cut the cookies by pressing down firmly and then wiggling a few times back and forth to make sure the dough gets into the small imprints of the stamp. Lift up and carefully remove the dough from the stamp and place on a prepared baking sheet, leaving about 2 inches between each cookie. Continue this with each section of dough, keeping the dough and stamps in the freezer in between uses. You can gather scraps of dough and re-roll.
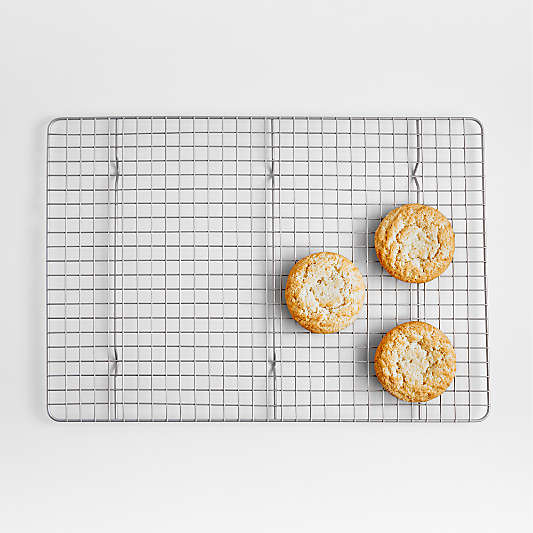
- Bake the cookies until lightly golden around the edges, about 11 minutes. Allow to cool on the baking sheet for 5 minutes, and then transfer to a metal cooling rack to cool completely.
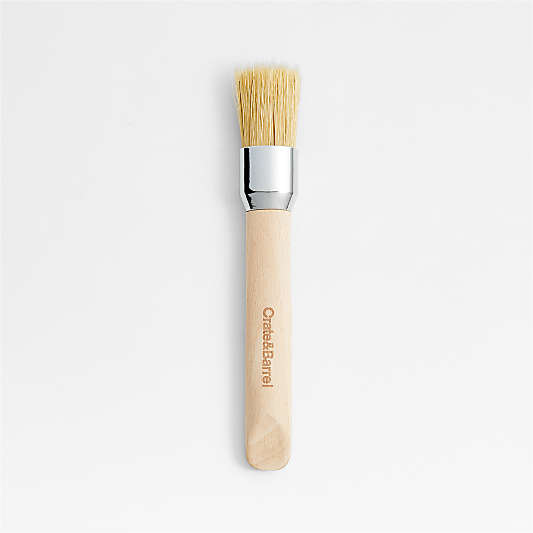
- To make the glaze, whisk together the powdered sugar and water in a small mixing bowl. Using a pastry brush, lightly brush the glaze over the top of the cooled cookies. Let dry completely and serve.
notes
We chill the stamps because it helps make a cleaner imprint and it makes the release of the dough easier.
Dividing the dough into 3 parts makes it easier to work with and also allows you to keep the dough cold until you are ready to use each section.
The dough must be thoroughly chilled in order to properly roll out, but we allow for rest time after rolling because the stamp needs a slightly softened dough in order to really get into the imprint.
You will need more flour than you think when rolling out the dough. Flour your work surface and the rolling pin.
Once you have the unbaked cookies on the baking sheet, you may want to use a paring knife to cut away any wispy edges.
Cookies must be completely cooled before you add glaze.
A soft glaze just means that you brush the glaze on with a pastry brush in order to see through the glaze.
Cookies will keep, in an airtight container, for up to 5 days. You can make these cookies and freeze them up to 2 weeks in advance.